Finally got around to making a quick post about a BAT file I’ve been tweaking for a bit that I find quite handy
It’s called “GO” and it’s basically just a Windows BAT file to simplify creating convenient bookmark LNK files for use on the command line (and from other places).
There are probably hundreds of different ways to “bookmark” folders and files from the command line so that you can quickly navigate back to or open them. This is just my take on the idea.
The TLDR;
Find the bat file in my github repo.
Be sure to grab SHORTCUT.EXE and put it on your path.
Then GO!
Getting this setup
First, you’ll need SHORTCUT.EXE on your path somewhere. The GO.BAT file uses it to read and write Windows LNK files, which is what it uses to store the bookmarks.
Get shortcut.exe here
GO uses the idea of a “repository” or Repo folder to store bookmarks. You can put that folder anywhere or use the default %USERPROFILE%\.go
If you want use a different folder, set the GO_REPO environment variable to the full path name you’d like to use. GO.BAT will automatically create the folder if it doesn’t exist.
Usage examples
GO -C bookmark {path|file}
create a bookmark using the given bookmark name. If you don’t provide a path or filename, GO simply bookmarks the current folder. If you provide a path, GO creates a bookmark for that path. If you provide a filename, GO creates a bookmark for that file.
GO -R bookmark
remove a previously defined bookmark
GO -L
list all defined bookmarks
GO bookmark
If the bookmark is a folder, change directory to that folder. If the bookmark is a file, GO will open the file using whatever is configured as the default application for that filetype.
GO -I bookmark
displays some information about the bookmark
GO -h
get a help screen for GO
Useful Side Notes
GO’s bookmarks are just standard Windows LNK shortcut files. As such, you can edit, create or delete them using Windows Explorer.
The GO repo should normally NOT be a part of your PATH. However, if you use an Application Launcher like PowerToys RUN or FlowLauncher, you can configure your launcher to include the GO repo folder in the list of folders to scan for executables. Doing that allows you to easily launch any of your GO bookmarks directly from your launcher of choice.
Note that in the case of using a launcher, GO.BAT itself doesn’t actually get used. The launcher would directly open the shortcut LNK file for the bookmark itself. This works really nicely because, for folders, the launcher will simply open Explorer with the bookmarked folder highlighted. For file bookmarks, the launcher will open the file in its associated editor.
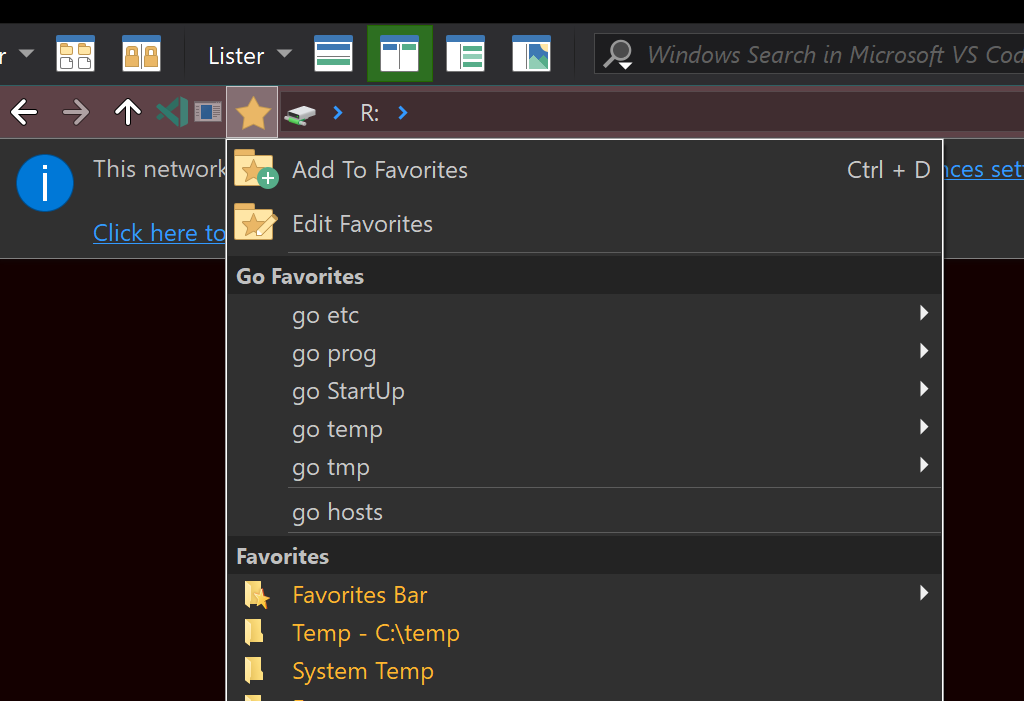
Also, since bookmarks are just LNK files, if you use a customizable file manager (I prefer the excellent Directory Opus), you can create a toolbar menu consisting of all the bookmarks in the GO REPO folder right within your file manager, making it equally convenient to use your bookmarks there as well.
Here’s an example in DirOpus:
Changing what to do with FILES
Line 124 is where GO uses the START command to open the selected bookmarked file in its associated application. Change that line so that instead of using START, you just call whatever editor you’d like.
Wrap Up
It’s nothing new, nothing earth shattering, but I’ve found it quite useful, esp when using the command line a lot.
Plus, the side effect of making those bookmarks immediately accessible from an App Launcher (FlowLauncher in my case), AND from my file manager (DirOpus is my poison), makes it that much more useful.


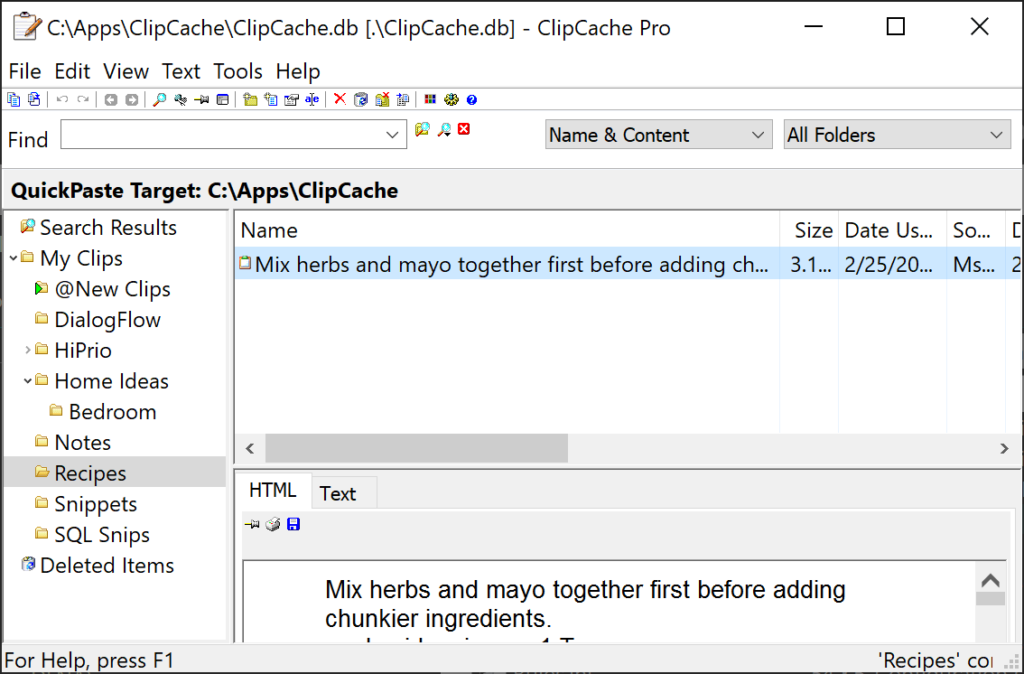
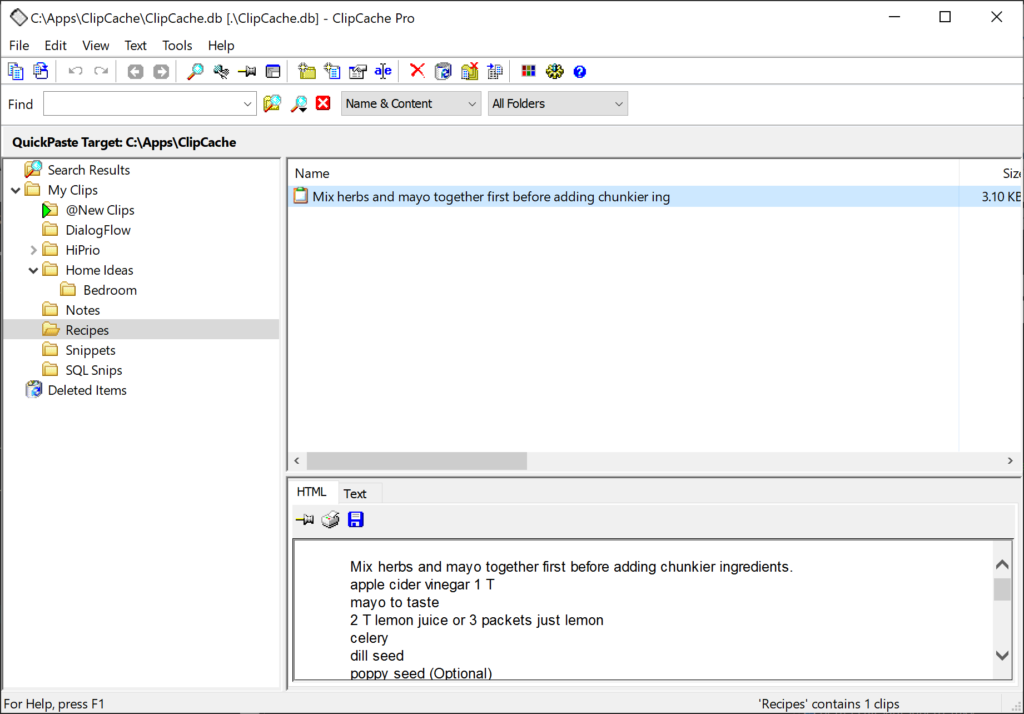
 I was contemplating having to pave a machine recently, and it occurred to me that it might be a good time to take stock of the “asphalt”, so to speak.